


Make an ocean in a bottle
We've recently got home from a week at the beach, and there really is nothing quite like the ocean to entertain your kids! We had one riding the waves into shore (even after telling us for days that he was scared of the ocean!), another one running all over the sand at low tide, building watch towers and practicing his writing in the sand, and the littlest one exploring the shallow pools left by low tide, watching tiny crabs scuttle around and mini fish dart this way and that.
It really was a fabulous, (mostly) relaxing week away from home and work and school. And whilst our boys were glad to get home and back to school and their friends, I know they miss the slower pace of the holidays already.
So when I was thinking of how we could keep that feeling front and centre, I remembered this fun sensory jar activity we did a few years back (we popped it in our Deep Sea Explorers boxes) that the boys really enjoyed. If you can't get to the beach, then why not bring the beach to you! Whilst it's not the real ocean of course, this great ocean sensory jar makes a fantastic substitute. This sensory jar is super quick to put together, and is easy to make from items around your home, or items you collected on your last beach trip.
WHAT YOU'LL NEED
- A glass or plastic bottle
- Water
- Elmer’s glue or glitter glue
- Glitter
- Food dye
- Small ocean creature toys
- Small loose parts
- Small shells
Get your creative minds out and scour your home for little toys or objects you can include in your jar. Small shells collected from the real beach work really well, as do see through buttons or beads.

HOW TO MAKE IT
1. Half fill your bottle with water. Pour in your glue and 1 drop of food colouring and put the lid on.
2. Shake your bottle to mix. It may take a few minutes for the glue to mix with the water.
3. Open the lid and add as much glitter as you like.
4. Place your small toys and loose parts in the bottle and replace the lid.
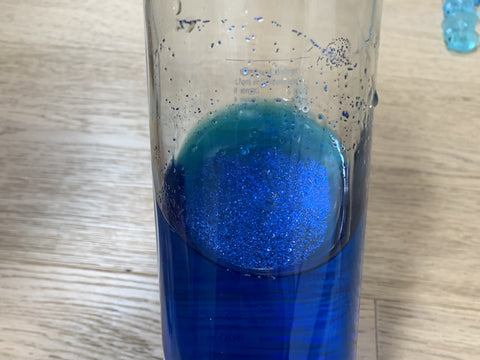
5. Once your ocean is ready, show your child how to shake the bottle vigourously to make it all move and swirl, then place the bottle standing on a table and watch your ocean shimmer.
6. Place it near a window to see the sunlight shine through, and watch your ocean animals swim and the sunlight twinkle as it hits the moving glitter, just like in the real ocean!
Once you've finished making your very own ocean, this fabulous sensory bottle is ready to provide hours of fun learning opportunities for your child or to help in a calm down space. And it will help you remember that calm, relaxing feeling of being on holidays with the sun streaming and the ocean in the background!
Want more ideas like this? Sign up now to get craft, recipe and activity ideas delivered direct to your inbox (plus a 20% discount off your first purchase)!
